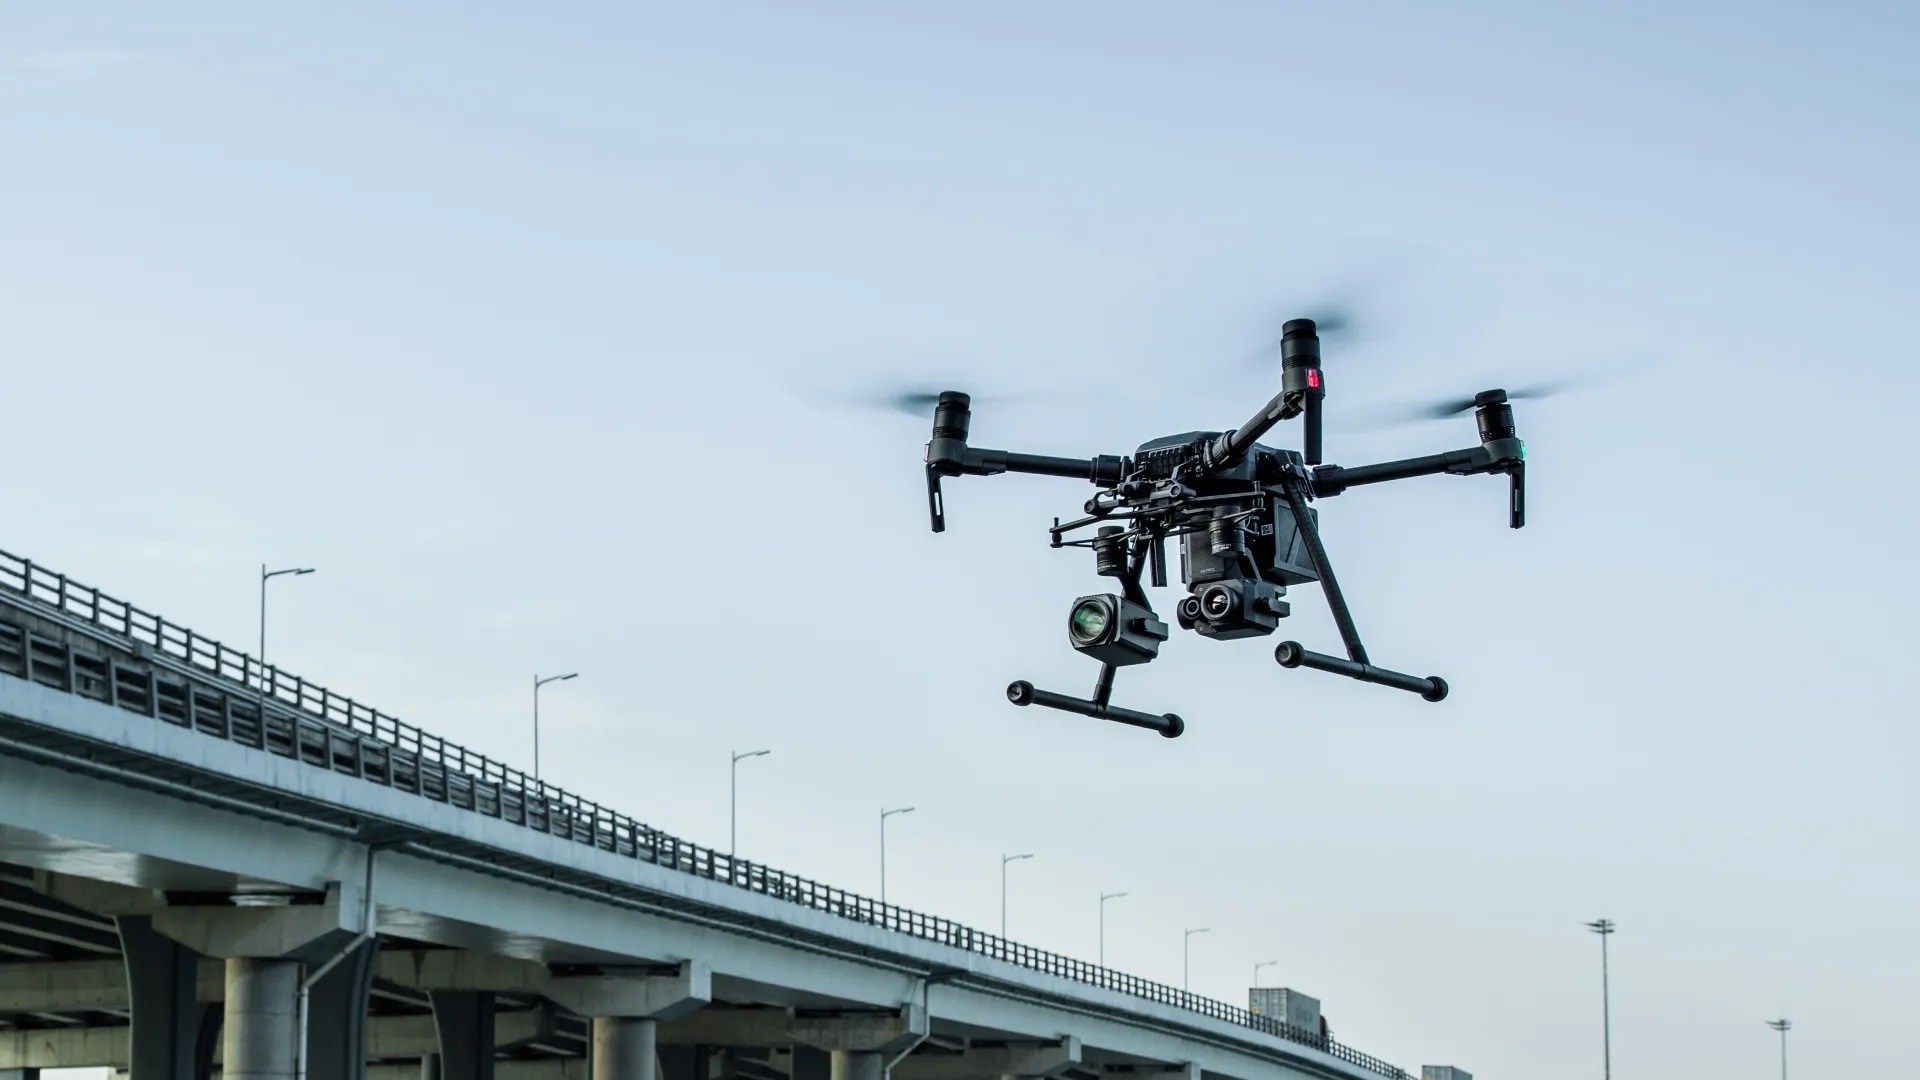
Are you intrigued by drone mapping and wondering how to process aerial imagery into insightful data? WebODM is an open-source platform that makes processing and analyzing drone data accessible and efficient. Whether you’re working on construction projects, monitoring agricultural land, or documenting heritage sites, WebODM provides professional-grade results for a wide range of applications.
Applications of WebODM
3D Models
Generate highly detailed and interactive 3D models from drone imagery. This is ideal for visualizing project sites, conducting architectural analyses, and even heritage preservation.
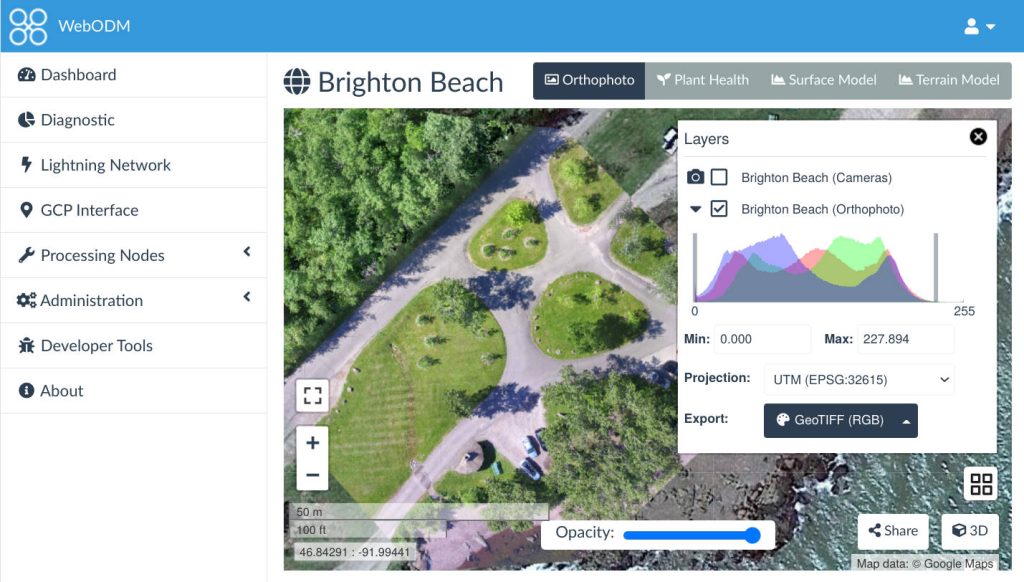
- Orthomosaic Maps
Stitch together aerial images into precise orthomosaic maps for large-scale analysis in industries like agriculture, urban planning, and environmental monitoring. - Volume Calculations
Accurately measure material volumes, such as soil or debris, which is invaluable for mining and construction projects. - Analysis and Inspections
Identify potential issues such as erosion, infrastructure damage, or drainage problems with WebODM’s analytical tools.
WebODM Tutorial: A Complete Guide for Beginners
Do you want to experiment with WebODM and process drone images yourself? In this tutorial, we’ll walk you through the installation process and explain the most important functions step by step.
Step 1: What Do You Need to Start?
Before you begin, ensure you have:
- A suitable drone capable of capturing high-resolution images.
- A computer with decent processing power. WebODM can run on Windows, macOS, and Linux. For optimal performance, aim for a machine with at least 16GB RAM, a multi-core processor, and sufficient disk space.
- The WebODM software, which you can download from the official WebODM website.
Step 2: Installing WebODM
- Go to the WebODM website and choose the installation method that matches your operating system. Options include:
- A direct install package (easiest for most users).
- A Docker-based installation (ideal for Linux users or those who prefer more control).
- Follow the step-by-step instructions provided on the website. These instructions cover how to:
- Download the necessary files.
- Set up dependencies (like Docker, if required).
- Complete the installation process and launch WebODM.
Step 3: Preparing Your Drone Images
- Collect your drone imagery. Ensure the following:
- The images are sharp and captured in consistent lighting.
- Images overlap by at least 70% for accurate stitching.
- Organize your images in a single folder for easy uploading.
Step 4: Uploading and Processing in WebODM
- Open WebODM and create a new project by clicking the “+ New Project” button.
- Upload your folder of drone images.
- Configure the processing settings:
- 3D Models: Ideal for creating interactive models of structures or landscapes.
- Orthomosaic Maps: Perfect for creating detailed, accurate maps.
- DSM/DTM: Generate surface or terrain models for volume calculations or land analysis.
- (Optional) If you have Ground Control Points (GCPs), upload them for improved accuracy.
Step 5: Starting the Processing
- Click the “Start Processing” button. WebODM will analyze the images and generate the outputs.
- Depending on the size of your dataset, this process may take several minutes to hours.
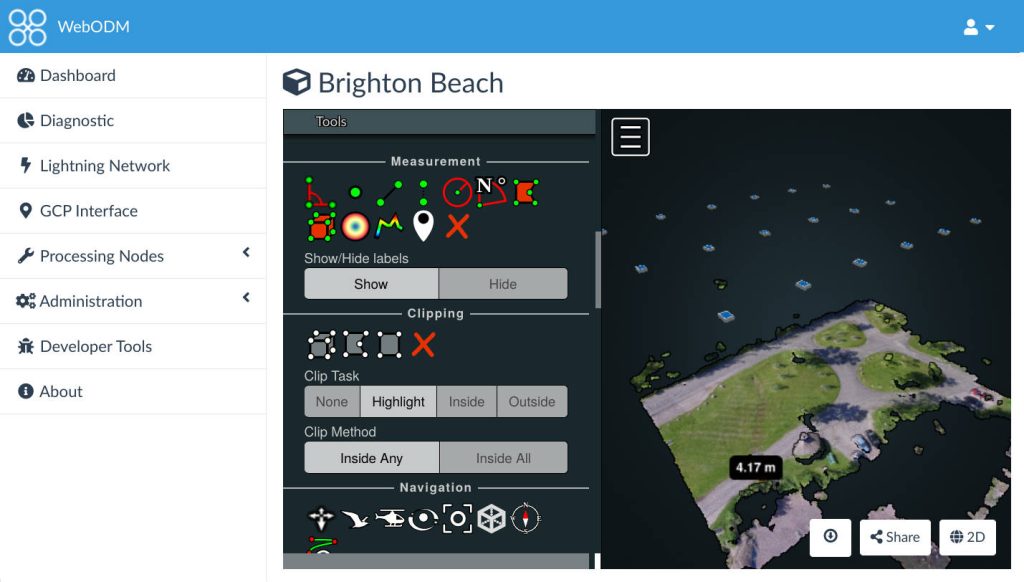
Step 6: Reviewing and Exporting Results
- Once processing is complete, you can view the results directly in WebODM. This includes 3D models, maps, and analytical data.
- Export the data in formats like GeoTIFF, OBJ, or LAS for further use in GIS software or reports.
Tips for Optimal Results
- Use high-quality images with consistent lighting and overlap.
- Regularly update WebODM to access the latest features and bug fixes.
- Experiment with different settings to tailor the outputs to your specific project needs.